Orbital Transfer – How to: Easy Space Station Hull
A short tutorial on how to create detailed space station hulls without worrying about too many subdivisions.

Intro: The render challenge
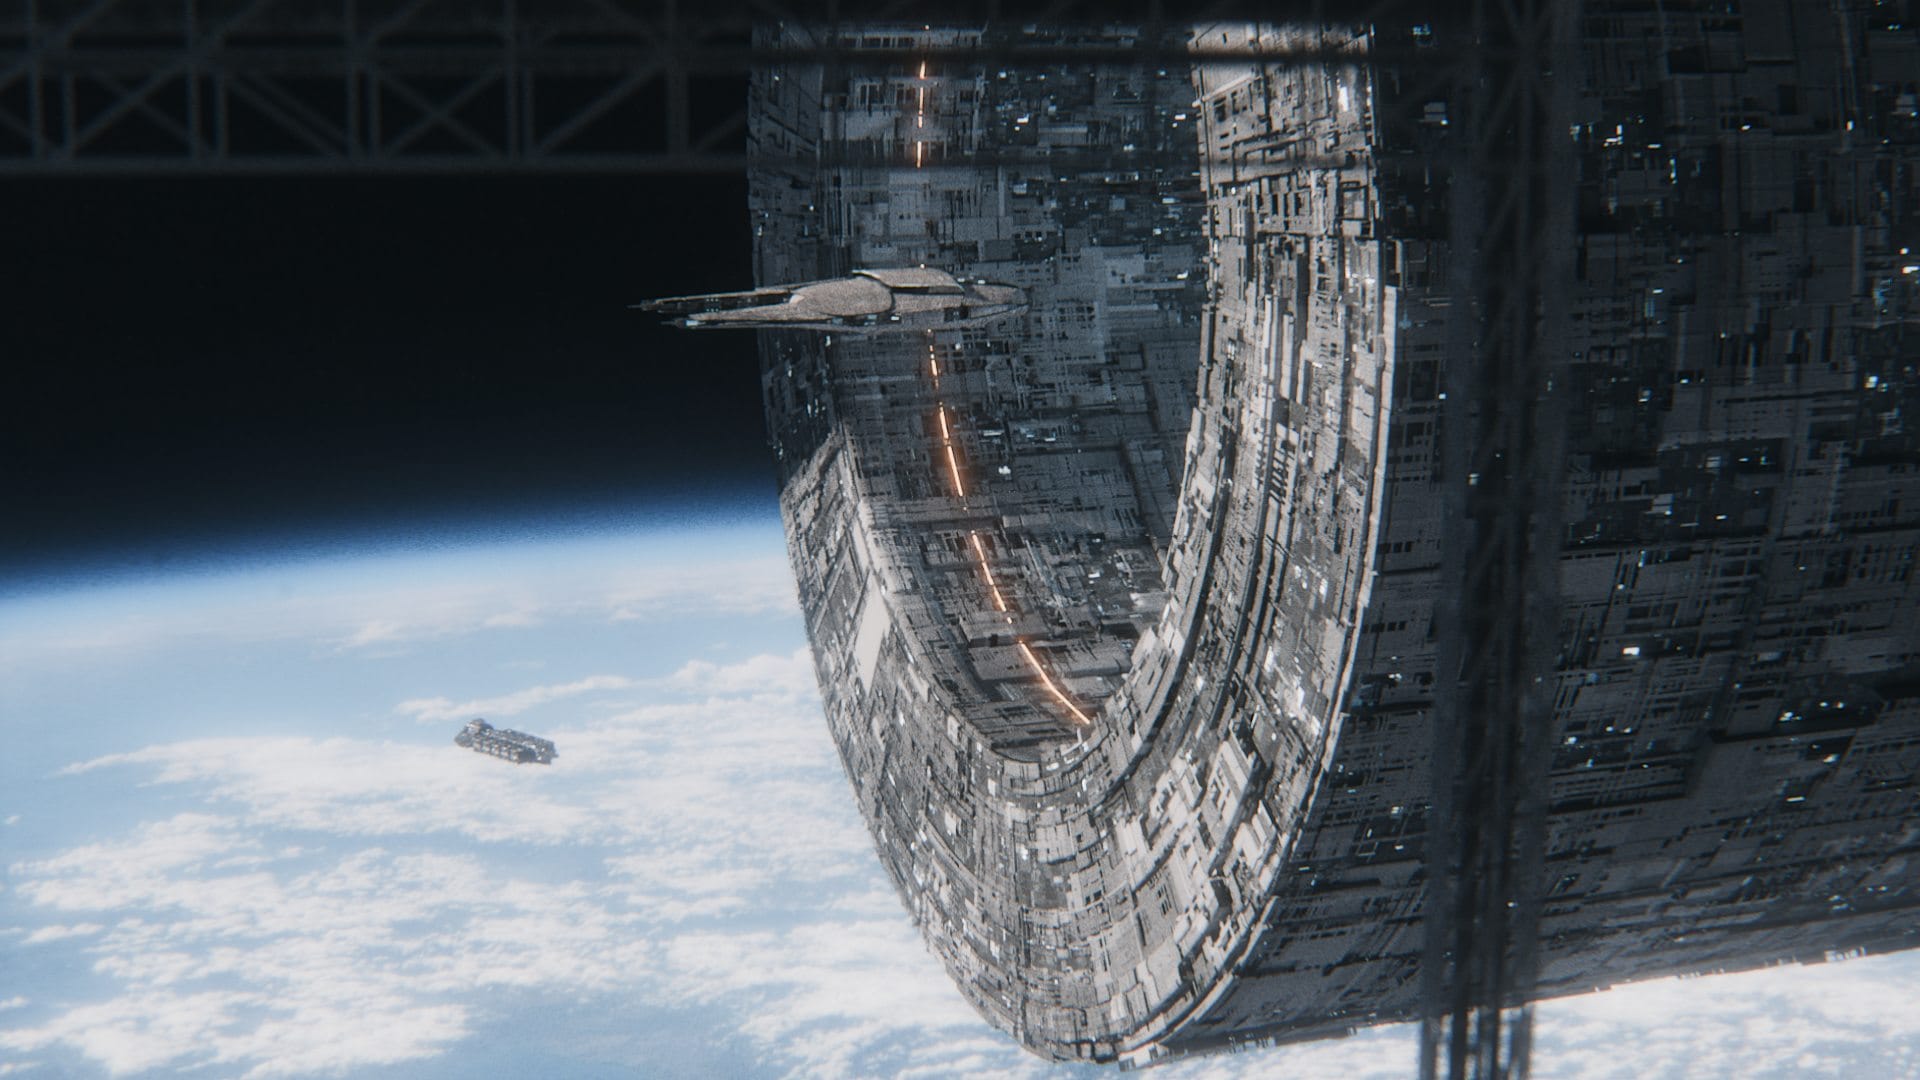
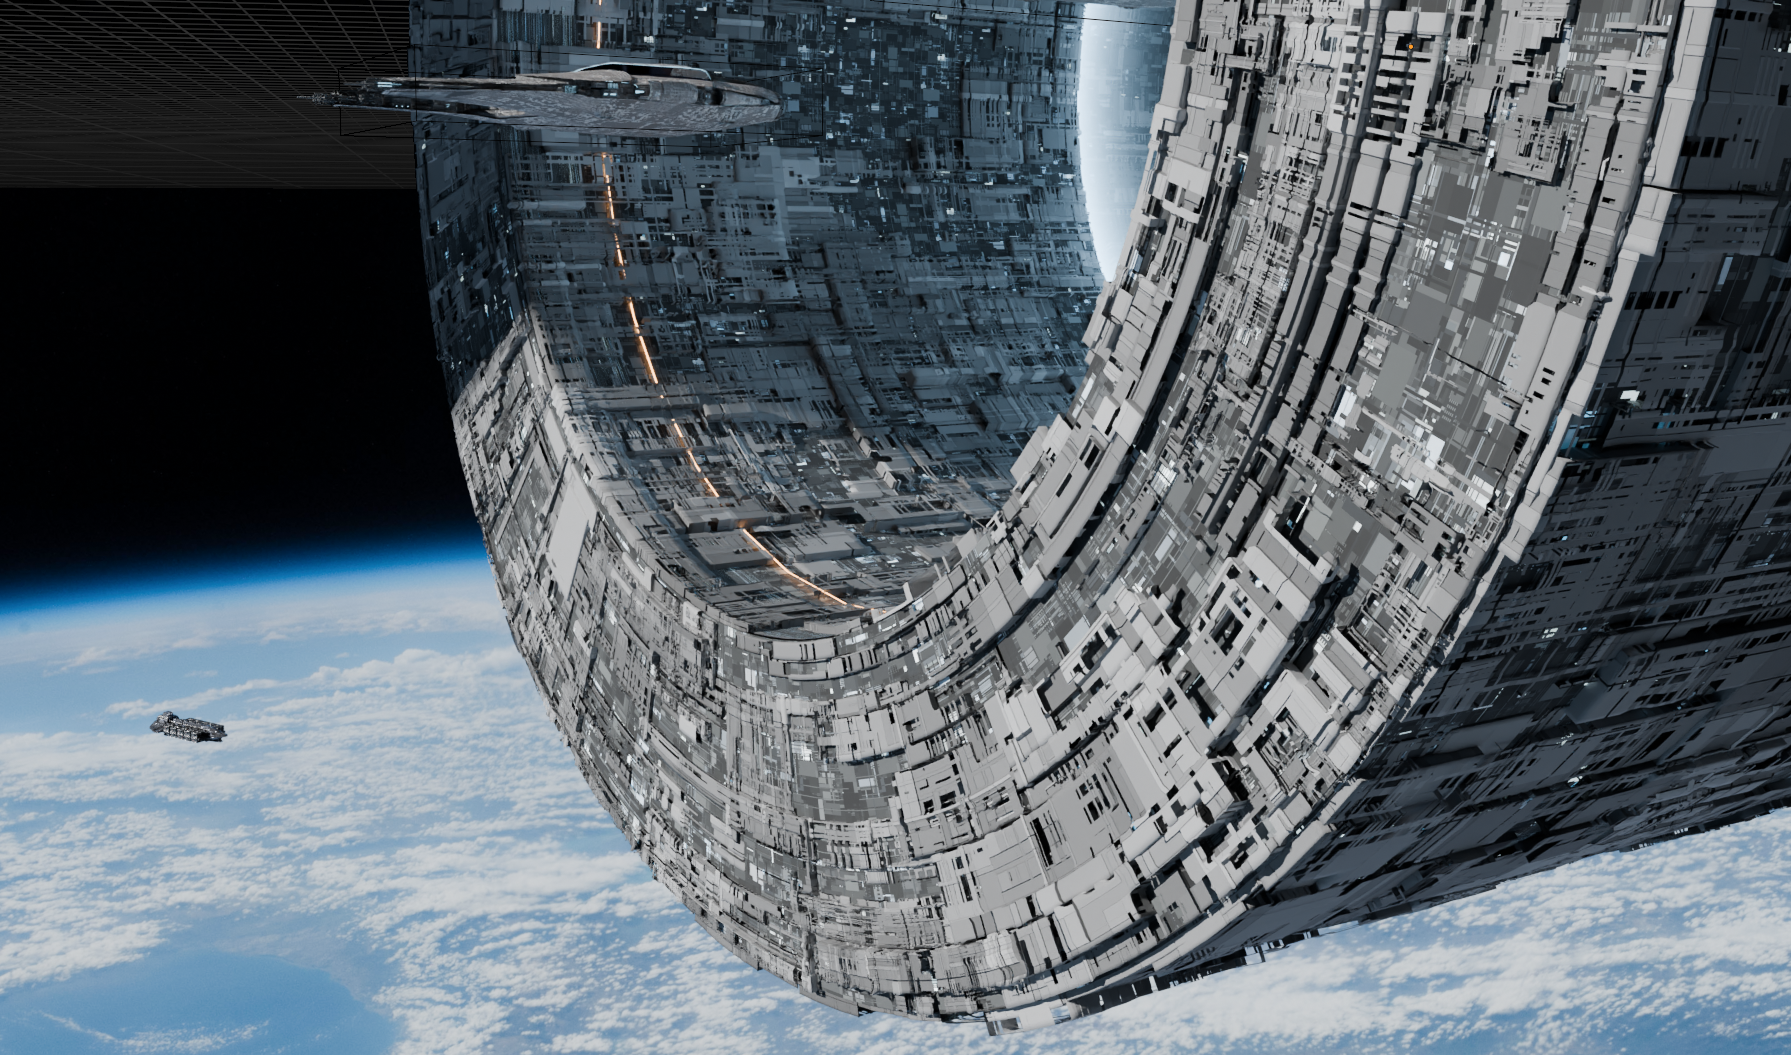
In December, we hosted a special challenge on the Blender discord server. We collaborated with the Blender Guru server to provide a simple animated template file of an elevator moving downwards, similar to the Pwnisher challenges. My submission was cobbled together from several older projects, plus a NASA background image:
How to: Crafting a detailed space station hull without a bazillion subdivision levels
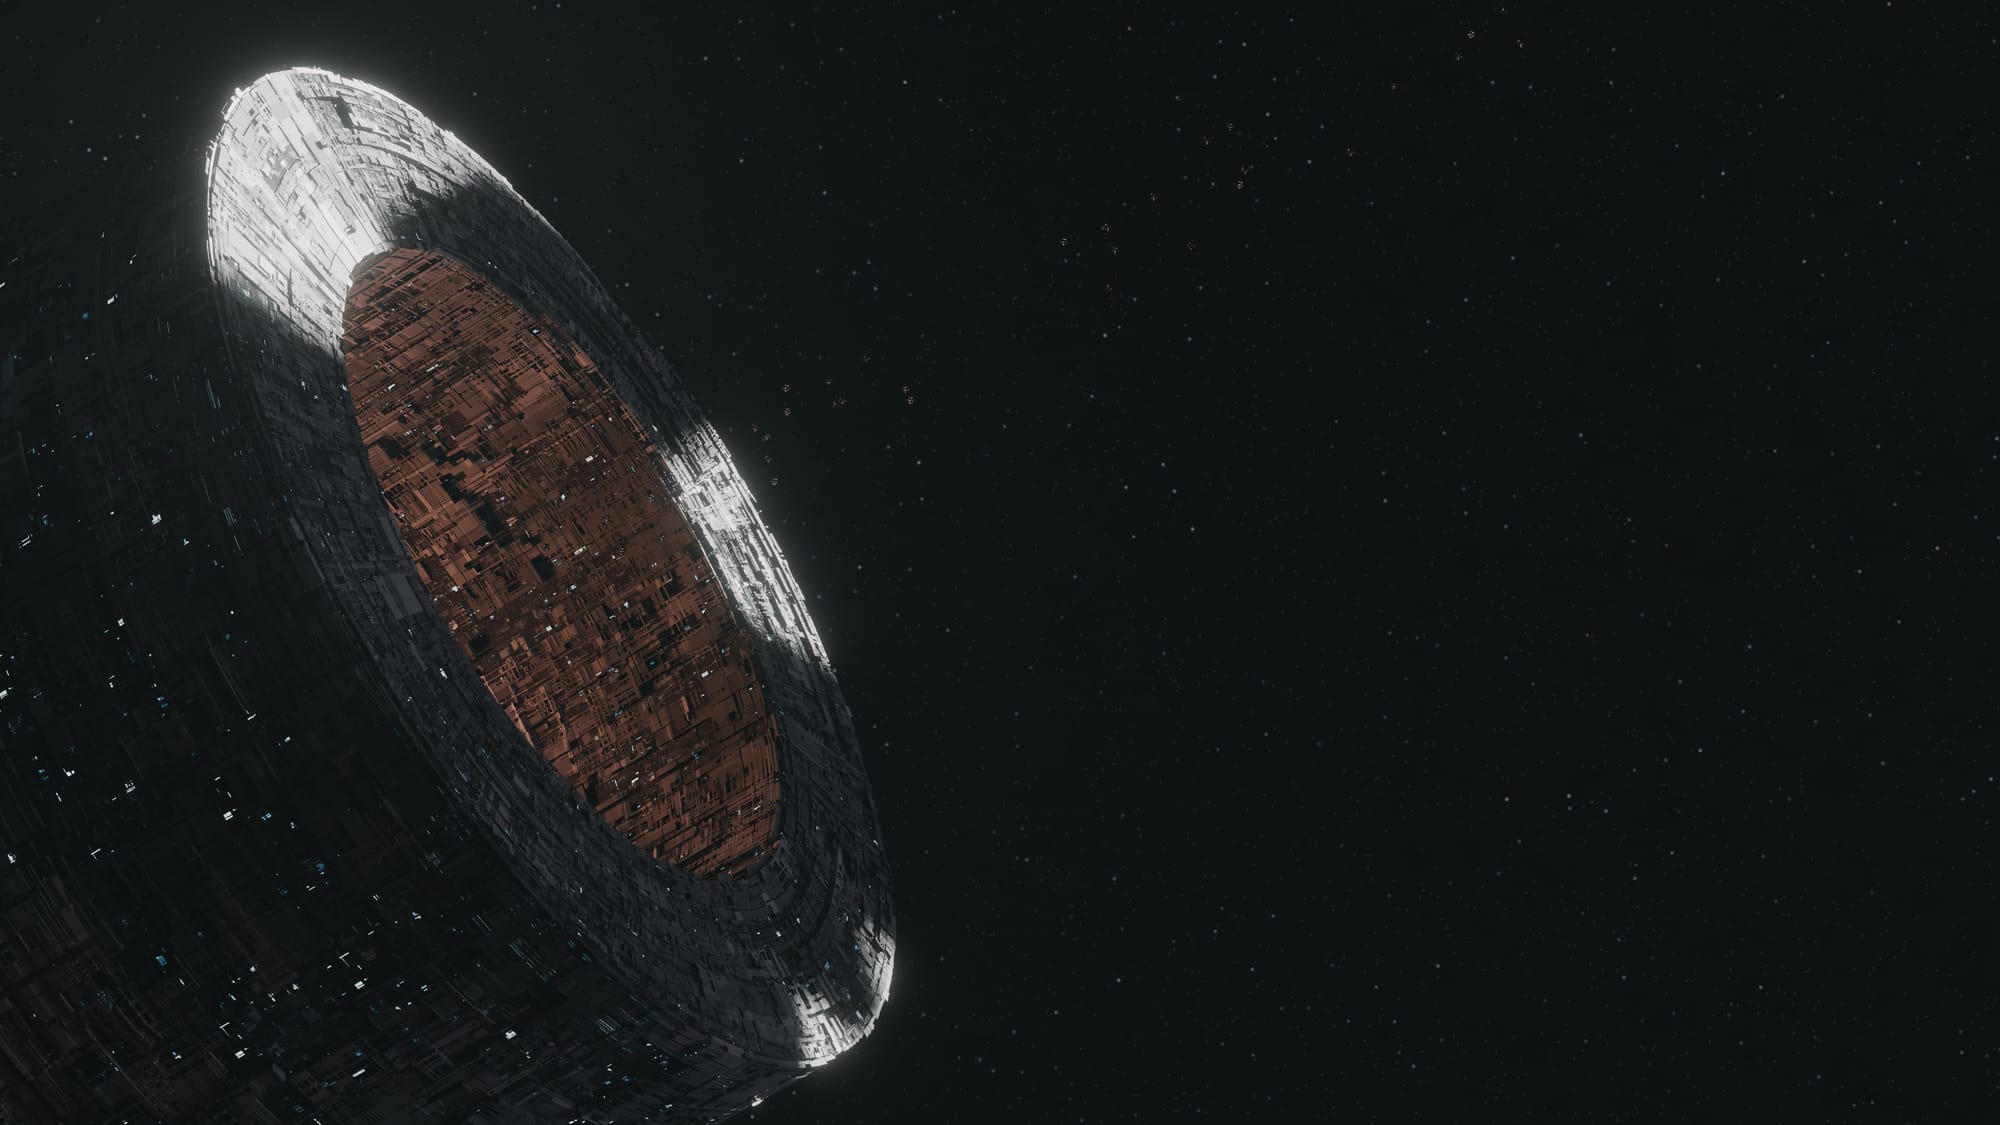
For this project I recycled the Hell Hole from this old project from 2023, and I thought this new project might be a good occasion to explain how I did it.
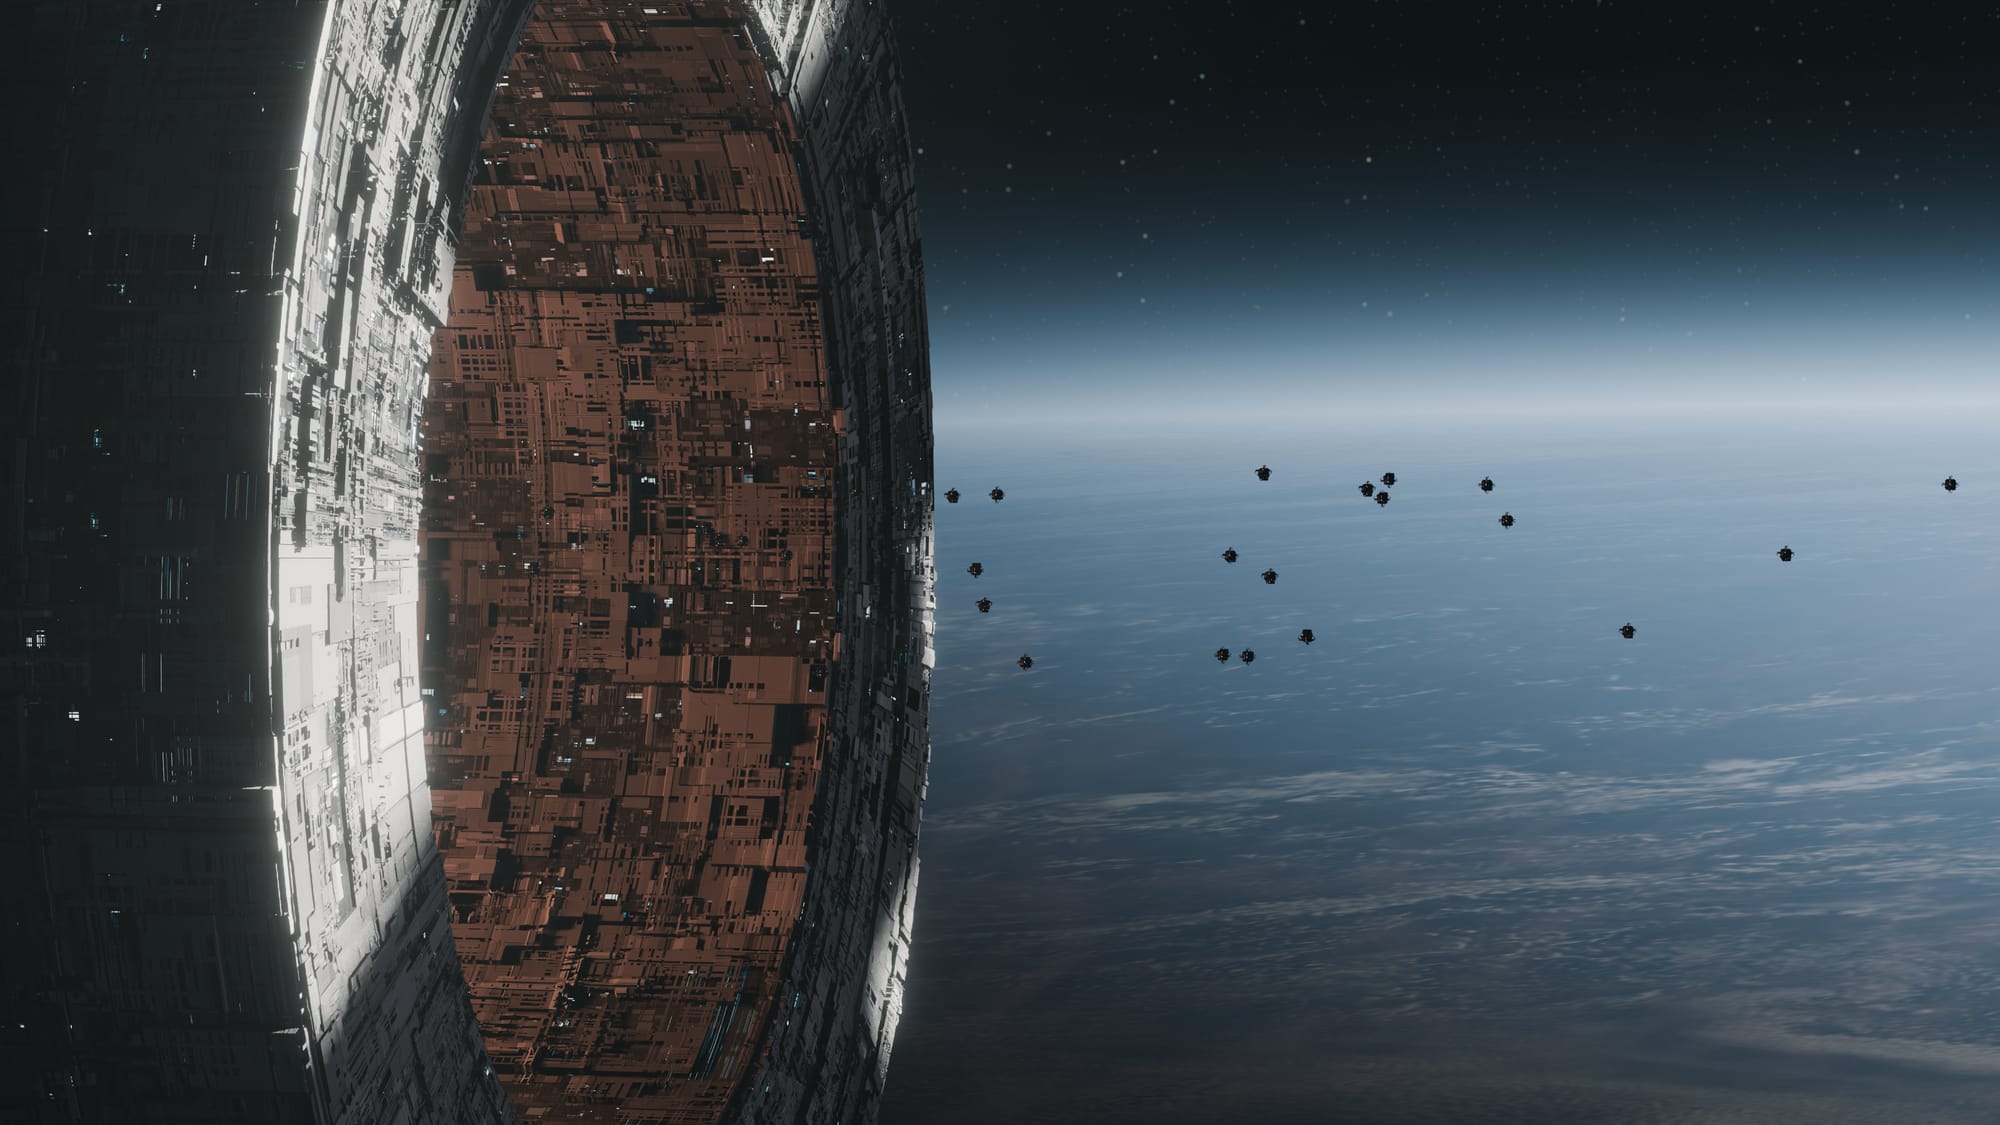
All you need for this type of hull is a properly UV unwrapped cylinder (or any other geometry), plus tech textures. I still keep an assortment of old JSplacement textures on my hard drive, but you can also use https://displacementx.pages.dev for similar results. Well and you'll need either a bit of Geometry Nodes knowledge or the Random Flow addon (which is a great investment for anything scifi-related).
Many online tutorials will tell you to directly use the textures to displace a highly subdivided version of the mesh in a single pass. While this works, it's unnecessarily taxing on your hardware. What you can do instead is break the hull down into two (or more) geometrical layers:
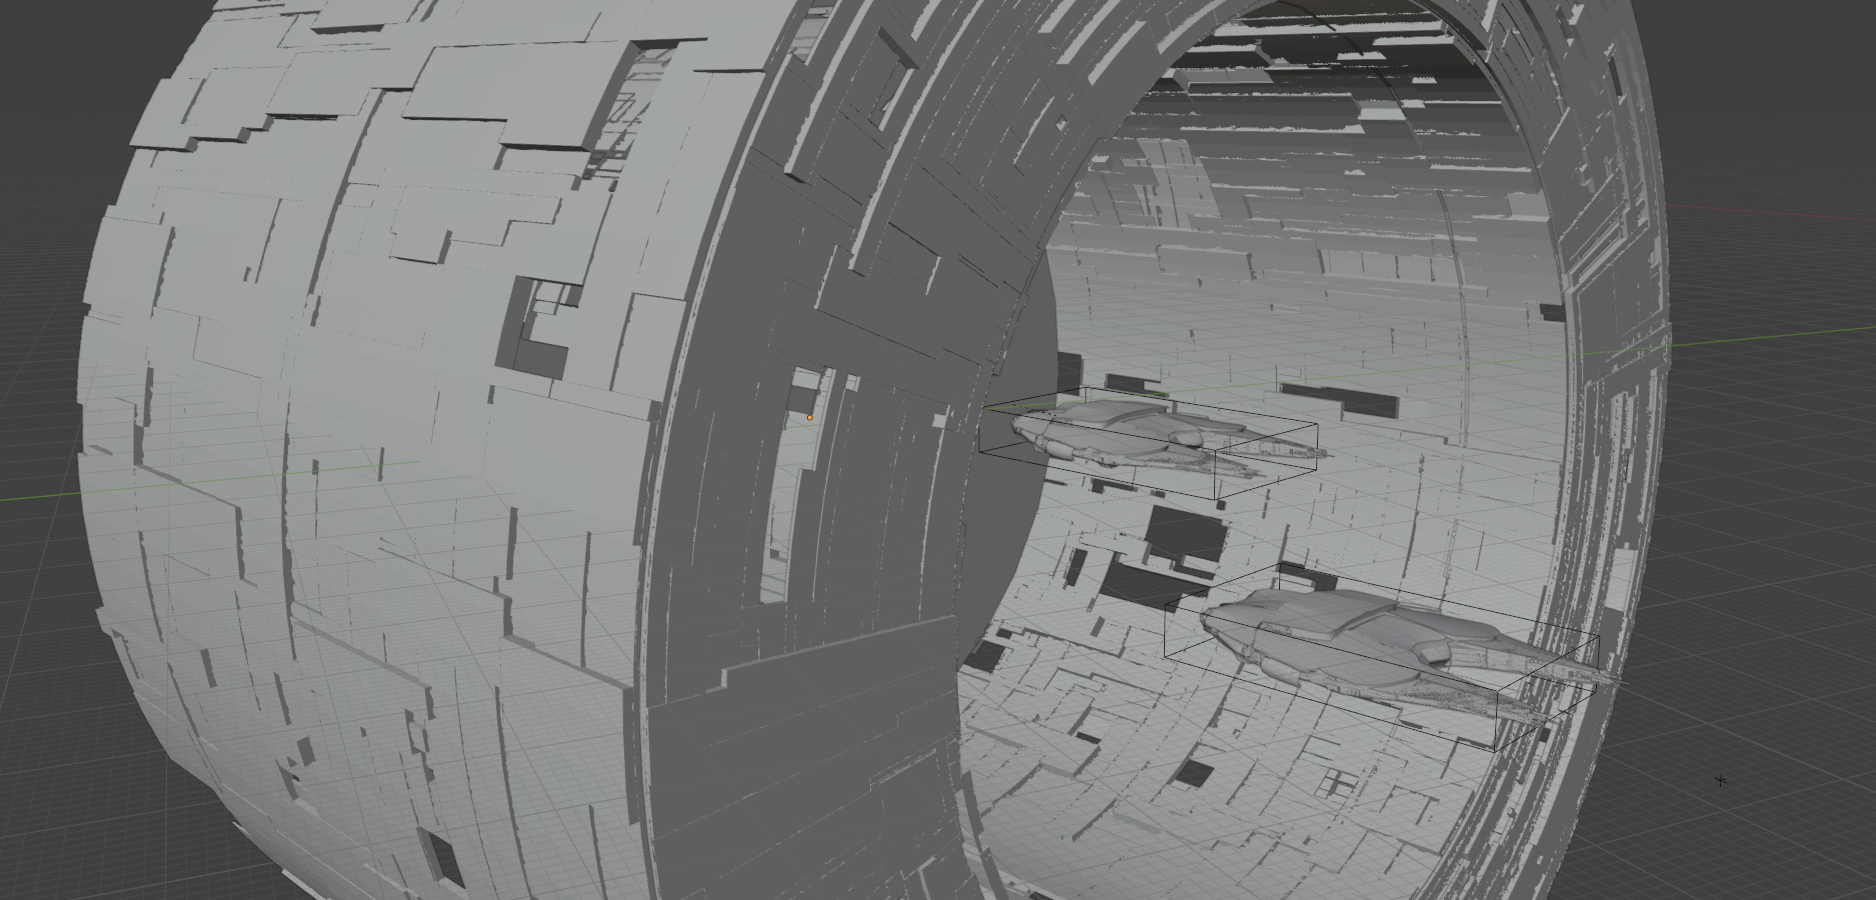
- A low-resolution base layer that contains a few lights (accomplished by thresholding the texture and piping it into the emission socket of a principled BSDF shader) and that is otherwise flat:
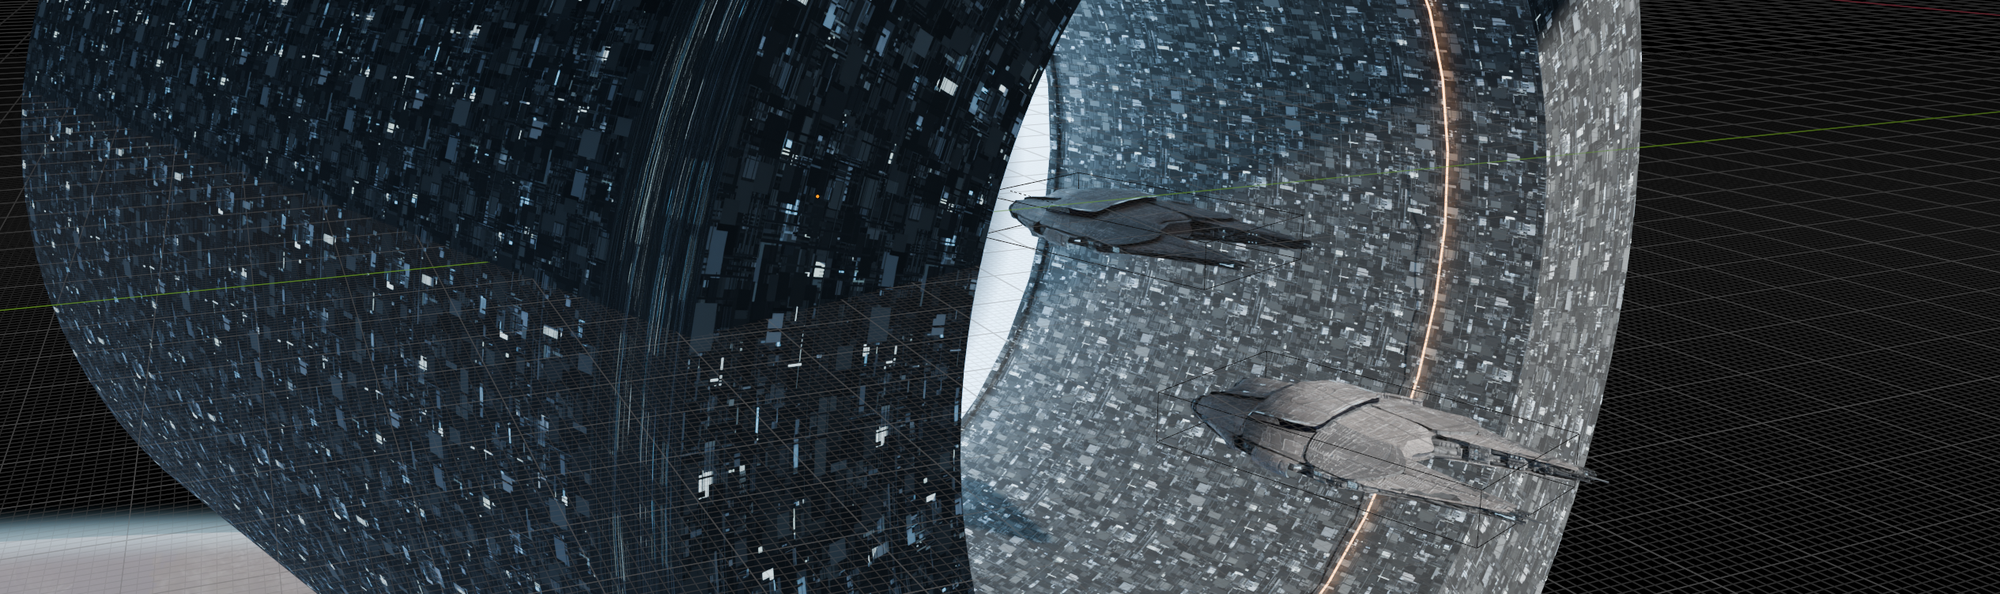
- A second layer that you can create either with Random Flow (with the Random Loop Extrude tool) or by using a Geometry Nodes graph that randomly extrudes some of the faces based on either one of your tech textures or a Voronoi texture in Manhattan mode. When using Geometry Nodes for this, you might want to layer several iterations or versions of extrusion over another to get closer to the Random Flow results:
This admitedly doesn't look super detailed yet, but here comes the magic sauce: apply any of your tech textures to the second layer, and threshold the alpha value until you start to see gaps.
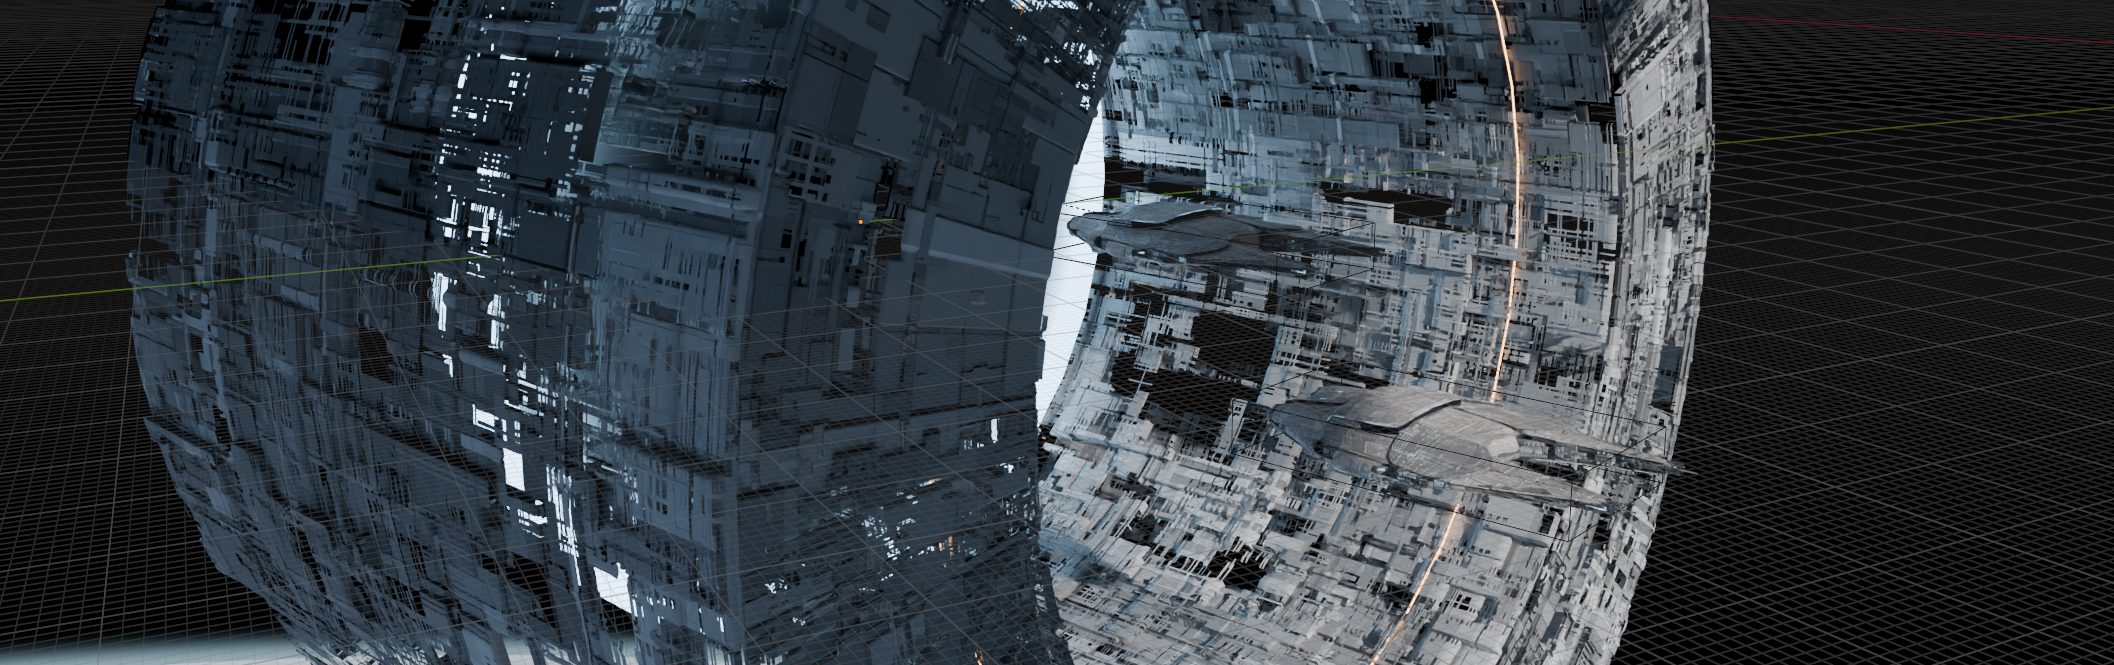
You now got a relatively low-poly geometry that—in combination with the textures—will cast highly detailed shadows onto the base layer, creating the appearance of "wow, this must be super high-poly geometry!".
The underlying texture may look repetitive by itself, but the second layer breaks it up nicely and creates additional details through partially blocking the lights. If you feel daring, you can add one or two levels of subdivision onto the secondary hull layer to ramp the fine details up even more.
The tech texture + alpha trick can also be used to create hulls that are still under construction, or that already deteriorated. Simply extend some of the geometry of the secondary layer or add some new faces. No need to use real geometry for this, let textures do the work for you!